Create Placeholder Signature in Mail
In Mail.app, open Preferences and click on the Signatures tab. There you will see 3 columns, the 1st one are your mail box accounts, the 2nd one are your custom signatures and the 3rd column is the signature detail preview. Create a new placeholder signature by clicking on the plus icon at the bottom of the 2nd column and name it. Drag your new signature from column 2 into your preferred mail box in column 1. Select your preferred mail box in the first column and go down to Choose Signature at the bottom. In the drop down menu, find and select your new signature. Note: At this point you will not see your HTML signature design on the 3rd column yet. Leave the 3rd column as is for now. Close window and quit Mail.app.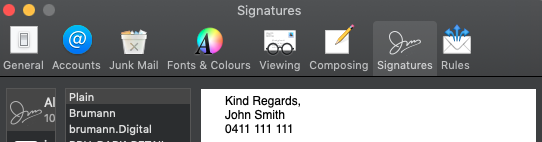
Step 2: Open the Signatures Folder
On Finder’s top nav, drop down the Go menu and then hold down the Option key to see the hidden Library folder. Once the Library folder is open, go to: ~/Library/Mail/V9/MailData/Signatures/. It maybe V9 or higher depending on the version of Mac software.

Step 3: Update Placeholder Signature

Find the signature that you just added (a file ending with a .mailsignatureextension). If there are multiple files in the folder, switch to list view. The signature that you just added in Mail.app should be the file that with the most recent modified date. When you have located the .mailsignature file, open it with TextEdit. You may see some metadata info on top and some HTML code below it. Delete all the HTML code (highlighted in picture below) and leave the metadata info untouched.
Under the metadata info, paste the HTML code of your email signature (Read bottom of Step 1 for instructions on how to reveal and copy the HTML code of your email signature design with Safari). Hit Save and quit TextEdit.

Step 4: Lock Updated Signature File – Important Step!
This step must be followed correctly in order for this signature to work or else Mail.app will use the original version of the signature instead of the new one. Locate the .mailsignature file that you just updated in Finder again. Press Command+I or right click on file to Get Info. In the Get Info window, mark the Locked check box.
***Another way to lock the file is by clicking on the gray text to the right of the file name on the header of TextEdit. A drop-down menu will pop up giving you the option to lock file. (See 2nd image in Step 4)***

That should be it. If you have any issues there are plenty of other articles to refer to as well like https://www.daretothink.co.uk/html-email-signature-in-apple-mail/ or get in touch with us and we will log in and help you out.